If you are a MacBook user, sometime or the other you might have received a system message reading, Your Startup disk is almost full. Because of the limited storag space, MacBook users receive this message quite frequently. But there is nothing to worry about. There are several ways to fix this simple but rather irritating problem. Read along to find out!
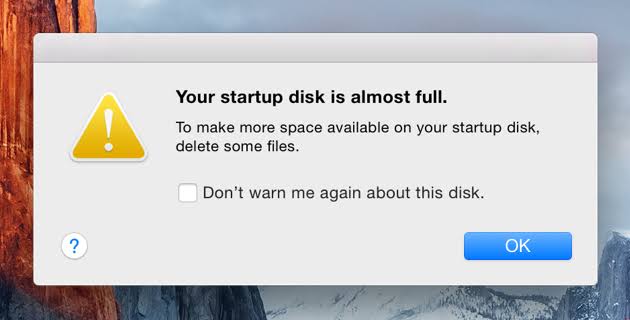
Before we move forward with the solutions to fix disk error, let us first understand the problem. But in case you are looking for just the solution, feel free to skip to them right away instead.
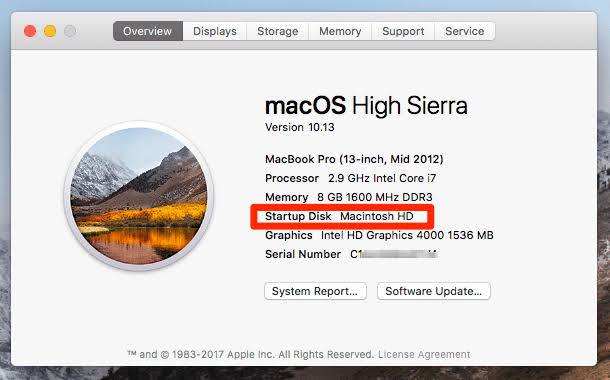
What is Startup disk?
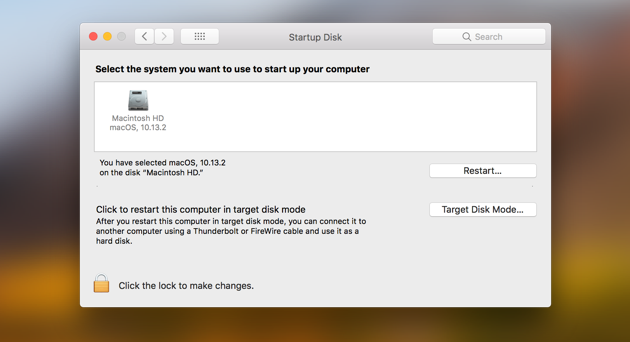
Every MacBook has its hard drive partitioned into disks which contain data stored on them. Your startup disk is the part of the hard drive that has a usable operating system stored within itself.
Why is your Mac startup disk full?

The answer is simple enough. You have so much of data that you are running out of space to store them. All you need to do to fix it is to clean up some space by deleting all the data which you do not require any more.
 Simple, isn’t it?
How to clean your startup disk on Macbook?
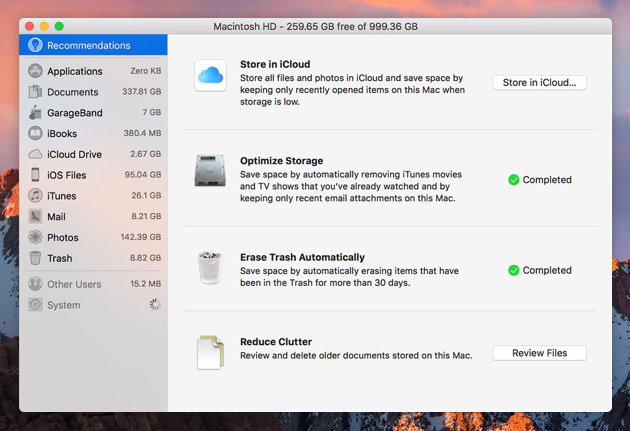
Below are some tried and tested methods which might help you to clean up your startup disk. Follow these methods step by step and you would be good to go.
1. Cleanup all the cache file
Cache files helps your computer to run more smoothly. But do not be afraid to clean them occasionally. Your computer will automatically create new ones later. Here are the steps to clean your cache files.
- Open a Finder window
- Select Go in the menu bar.
- Click on “Go to Folder…”
- Type in ~/Library/Caches
- Delete the files/folders that are taking up the most space.
- Now click on “Go to Folder…”
- Type in /Library/Caches (simply lose the ~ symbol)
- Again, delete the folders that take up the most space.
And you are done!
Method #2. Get rid of localization files or language packs
Localization files or language packs often accompany application when you install them. You don’t really need them and so deleting them will considerably free up some space. Perform the following steps to do so.
- Open a Finder window.
- Go to Applications.
- Ctrl+click on an application.
- Select“Show Package Contents.”
- Fromhere, go to Contents > Resourcesand look for files ending in .lproj. like Spanish (es.lproj).Drag the ones like Spanish (es.lproj), which you’ll never use to the Trash.
Method #3. Remove unused applications
Applications take up space. We all know that. But what use are the applications that you have stopped using. They just occupy a large chunk of your hard drive. Uninstalling unwanted applications can help you clean a lot of space on your Mac.
Method #4. Delete old iTunes Libraries
Believe me or not old iTunes Libraries do take up a lot of space. So follow the below steps to clean them up:
- Open the Finder window.
- Click on “Go” in the menu bar at the top-left of your screen.
- Select“Go to Folder”
- Go to~/Music/iTunes/Previous iTunes Libraries
- They’re all dated, all you need to do is delete old ones you don’t need anymore.
Method #5. Delete old iOS backups and updates
To get rid of old backups follow the below steps:
- Launch a Finder window.
- Click on “Go” in the menu bar.
- Select “Go to Folder…”
- Then, type in~/Library/Application Support/MobileSync/Backup/
Now all you have to do is to get rid of all the old, outdated backups your Mac has been storing for a bit more extra space.
To get rid of old updates perform the following steps:
- Open Finder.
- Select “Go” in the menu bar.
- Click on “Go to Folder…”
- Add the following for iPad ~/Library/iTunes/iPad Software Updates
or entering for iPhone ~/Library/iTunes/iPhone Software Updates
Now, delete downloaded files for any of the devices that you are not using any more, or ones which software just already updated. Remember that after any of your devices have been updated, you don’t need those files.
Method #6. Delete unwanted files
Now, after you have done all that delete all unwanted files. Photographs, music, movies, videos, any file that is taking up a lot of space but you don’t really need anymore. Deleting these files will surely solve your problem.
Method #7. Empty TRASH
Always empty the trash. Trash is recoverable deleted files. And trust me you don’t want them to lie around.
- Ctrl+click your Trash in the the Dock.
- Select “Empty Trash.”
- Click “Empty Trash.”
Final Take!
I hope that you were able to fix the ‘startup disk being full’ issue. In case if you face any difficulty, please feel free to comment and let us know. We will get back to you as soon as possible.
I hope you found the article informative and enjoyed reading it. This is all for the day. Thanks for reading!

![How to use Snapchat on Mac [3 Methods] How to use Snapchat on Mac [3 Methods]](https://www.digitalcare.top/wp-content/uploads/2019/02/3-3-211x150.jpg)
