If you really want to progress with your podcast then you need a good enough studio setup. It is important to understand that the podcast is your home, that is, it is the place where your best episodes are created. Quality studio is the key to success, because your guests will not want to waste time on shows that produce poor quality sound. You do not need expensive equipment to achieve this. Your space can look equally beautiful and high quality in a very simple way. There are several key steps that need to be taken to realize this idea.
1. Shoot in a suitable room

Before you start buying equipment and decorating the room, make sure you work in a good enough space. So, the first step you need to take is choosing the right podcast space. The nature of the room can determine the sound quality. Not every empty room is good enough to shoot. Think about its characteristics, because sometimes basements, garages, spare bedrooms or some other rooms can be extremely bad conditions for shooting. It is important to find a place that will not resonate much. However, if you do not have a large enough budget to make a room just for these purposes, take a little more time to find alternatives. One alternative can be renting studio hourly and owners of Poddster told us it is equally popular as renting equipment.
Many podcasters don’t shoot in ideal conditions at first, but try to do the best job when it comes to landscaping. This means that you will opt for a space that contains more soft surfaces, such as carpet, rugs, etc. Hard surfaces are not good. Pay attention to external noise. For example, if your room is right next to the street, you will have big problems. It’s hard to get good sound in such conditions, but it’s even harder to focus on recording.
2. Get a good computer
Img source: pexels.com
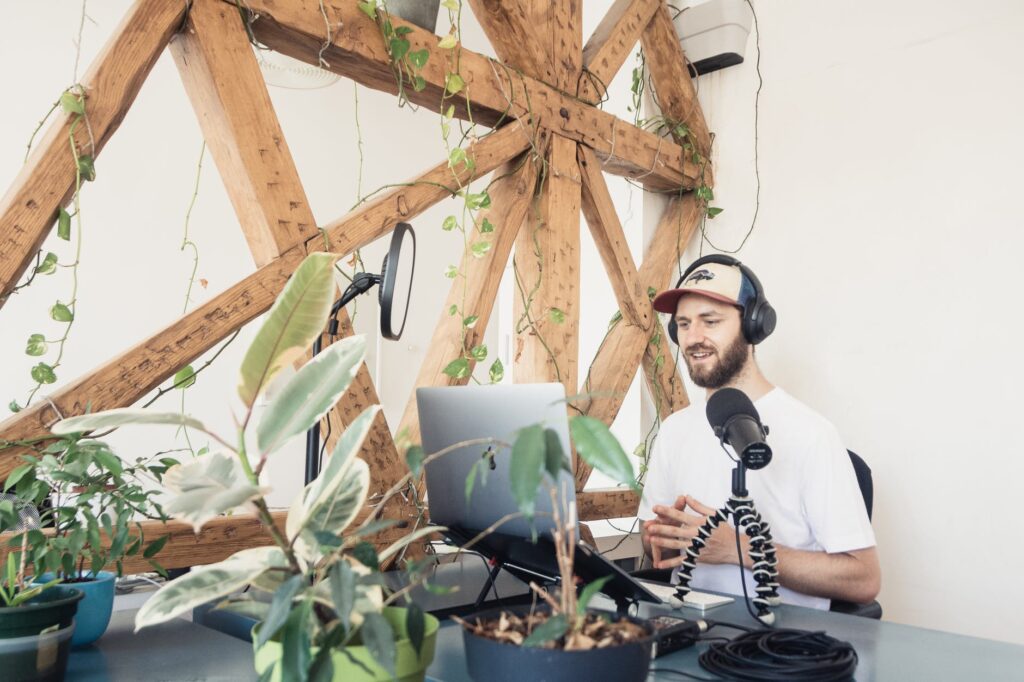
The first thing you should do is invest your money in a good computer model. You need a reliable model that will have a high processing speed and enough storage space. Only then will you be able to keep all the files you will save. Whatever your needs, the right digital audio works space is a must for everyone. Keep this in mind when buying a computer, because it will determine its type.
3. Find out which type of microphone suits you best
Img source: pexels.com
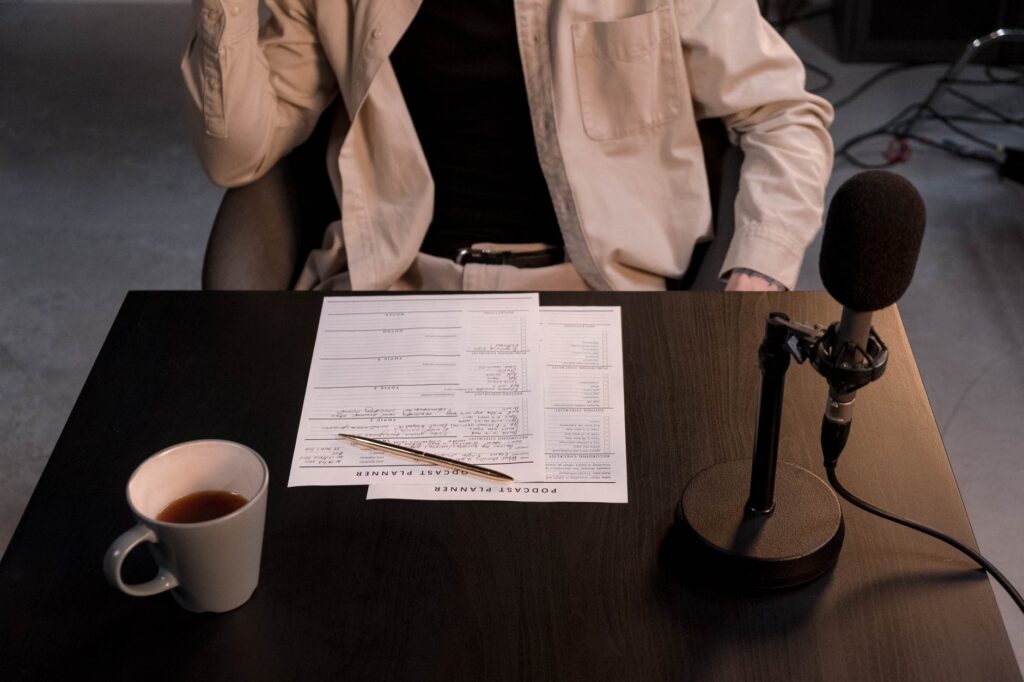
We must not forget the indispensable part of the equipment, and that is the microphone. You can opt for one of two types of microphones. Each of them has its advantages and disadvantages. That is why you need to research these models in order to decide on the one that suits you best. There is a dynamic and a capacitor model, as well as two types of connectors. These are XLR and USB. You will find a huge number of available models on the market, but do not associate its quality exclusively with the price of the microphone. For example, if you opt for the dynamic version, you’re probably shooting in a home studio setting. This conclusion makes sense because the dynamic microphone is known for less absorption of ambient noise. They are also very affordable and durable.
Condenser microphones are the complete opposite of them, because they are known for their high sensitivity to ambient noise. Therefore, they will be a more suitable choice for well-insulated rooms, because you will get top quality sound. So this is a great choice if you have a soundproof studio and want to record sharp and detailed sounds. The main differences between these models are the size and weight of the diaphragm. Capacitor models are known for their small and lightweight membranes while dynamic microphones are their opposite. We can’t tell you which microphone is the better choice, because it all depends on personal preferences, budget and other factors.
4. Learn the difference between USB microphones and XLR microphones
Img source: pexels.com
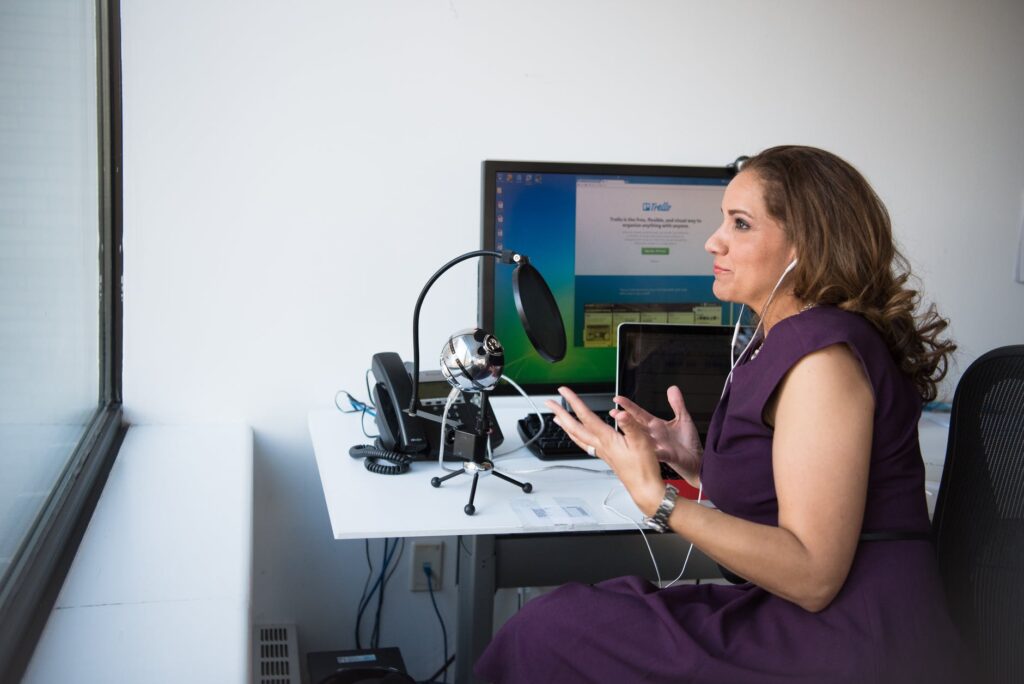
When it comes to connectors, we must note the clear differences between them. USB microphones are very easy to connect to a computer. They are a more popular choice because of their simplicity, and you will mostly find them in your home studio. XLR microphones are connected to a mixer previously connected to the computer. This can be a problem if you want to use minimal equipment, because XLR definitely requires more than that. However, you will not make a mistake with the choice if more people work with you. Thanks to its features, you will have the opportunity to change the sound levels during recording.
5. Choose your headphones carefully
Img source: pexels.com
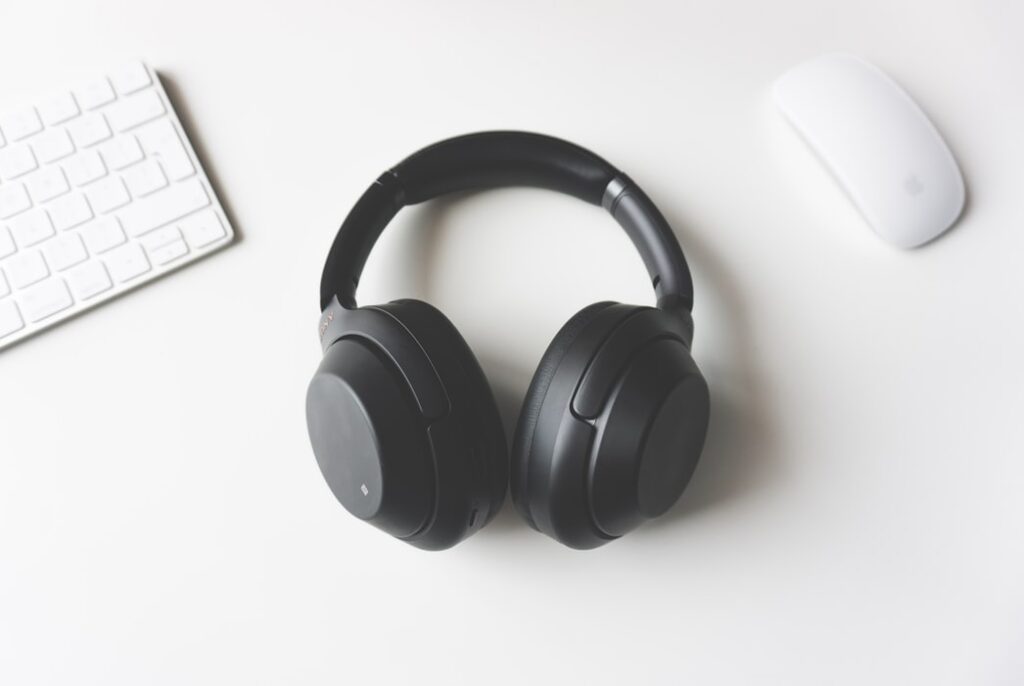
This is another piece of equipment that allows you to control the sound. The headphones will allow you to cancel out background noise while you are focused on your sound. You can opt for an indoor model or an open headphone model. By choosing the first option, you achieve optimal insulation, but also poorer sound quality. In the second case, you get less insulation, but better sound quality. To make the right decision, pay attention to a few key items. Comfort comes first. Depending on your podcast, you may need to wear this equipment for hours.
We are sure that you do not want any interference, which means that you will want comfortable enough equipment. Sound insulation is an important factor, because it will eliminate background noise and absolutely focus on what is important. Consider active noise cancellation headphones as well as frequency response. These two things can make a big difference in sound. Depending on your personal preferences, you can opt for wireless or wired headphones. For example, if you want to move around all the time while shooting, you will probably find the wireless model more useful.
6. Backing up and Storing Your Recordings
If you want to embark on an adventure called a podcast, first learn how to start a podcast and then try to create ideal working conditions. Protecting your recorded content is vital too. Implementing backup strategies ensures your hard work is safe from data loss. Consider cloud storage options like Dropbox, Google Drive, or dedicated podcast hosting platforms for secure and reliable data backup. Additionally, create local backups on external hard drives or network-attached storage (NAS) devices to have a physical copy of your recordings.
Implement a robust data management system to keep track of your episodes, guest interviews, and other podcast-related assets. Organize files into well-labeled folders and establish a consistent naming convention for easy retrieval.
7. Setting up a Podcasting Website and Distribution Platforms
Establishing an online presence is crucial for growing your podcast’s reach and connecting with your audience. Create a dedicated website to showcase your podcast episodes, provide show notes, and engage with your listeners. Utilize podcast-specific website builders or content management systems like WordPress to streamline the website creation process.
To reach a broader audience, submit your podcast to popular podcast directories and hosting platforms such as Apple Podcasts, Spotify, and Google Podcasts. These platforms make it easier for listeners to discover and subscribe to your show. Utilize social media platforms to promote your podcast and engage with your audience effectively.
Conclusion
You need to make a list that includes the necessary equipment and start researching different models. Remember that the same model of equipment does not suit everyone. So read reviews, forums, compare equipment until you find one that complies with the requirements of the podcast.
In order to be relaxed and focused enough, you need to create a pleasant atmosphere in the studio. This is almost impossible to achieve if you are not comfortable in the room where you are shooting, and if you do not work with the appropriate equipment.


