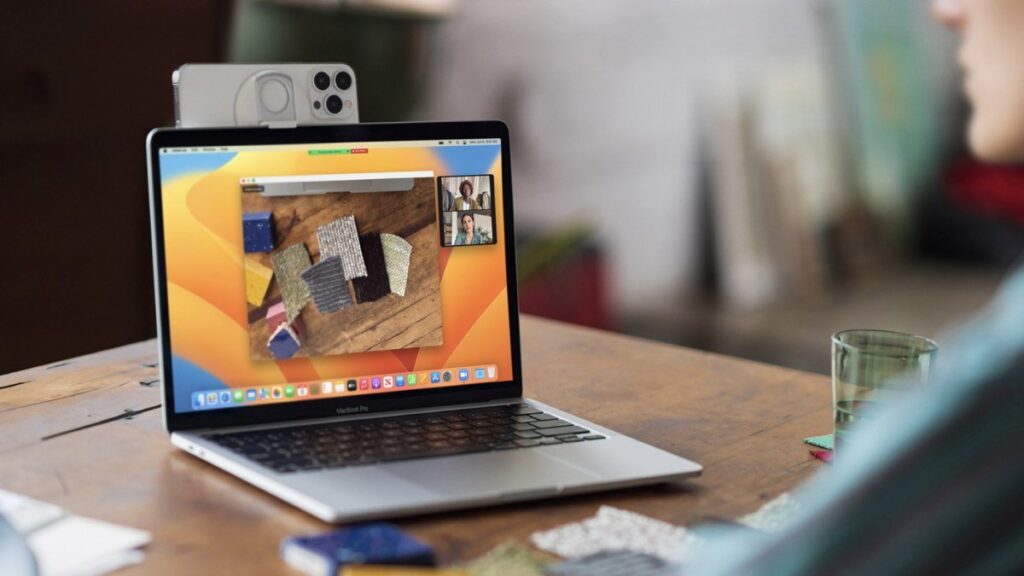
Generally, photos are the best way to remember those life uplifting moments captured on camera. Whether you are using your iPhone camera or MacBook, you need to take all the necessary precautions to save them from damage or loss.
All in all, iOS and Mac devices are not immune to data loss. If you find yourself in such a situation, it is important to move with speed and recover deleted photos before they are overwritten by new ones. Fortunately, there are several ways to recover lost photos on Mac and iOS. In this article, we will discuss some of the top methods you can use.
Restore Lost Photos with Photos App
Photos captured with your camera are generally sent to the Photos application. The photos are then backed up there and made available to you any time later. Deleted photos are moved to the “Recently Deleted” folder for some time.
Recovering photos from the recently deleted folder is easy. Follow the steps below.
Step 1: Launch the photos app to display a list of albums. You will be able to see all the available albus including “People,” “All photos,” “places,” all the way to “Recently Deleted.”
Step 2: Tap to select the “Recently Deleted” folder. It will show you a list of photos that are currently scheduled for deletion. Also, you will be able to see the duration left before they can be removed permanently. This duration is usually 40 days.
Step 3: Unlock the album. If you are on iOS 16 or later, you will be required to unlock the album using Face ID or Touch ID when prompted.
Step 4: Click the top right corner on the “Select” icon.
Step 5: Click on the photo you intend to recover.
Step 6: Click “Recover” to send the photo back to the albums.
Restore Lost Photos from iTunes Backup

Source: macworld.com
iTunes backup is the other way to retrieve lost photos on iOS, macOS or PC. You should not be worried if your device is macOS Mojave or earlier, or even if you were on PC when you lost your photos.
Note that macOS Mojave was the last iOS version from Apple to ship with iTunes. Later versions such as macOS Catalina split iTunes into three different apps i.e., Podcasts, Music and TV. To use this method, follow the below steps.
Step 1: Launch iTunes.
Step 2: Using an original Apple cable, connect your iPhone to the computer.
Step 3: Choose “Restore Backup” and pick the most relevant backup.
Step 4: Tap on the “Restore” button and wait for the process to complete.
Recover Lost Photos from Backup
Backups are some of the best ways to recover deleted photos from iOS and Mac. It is also easier to use when restoring deleted pictures on your iPhone. There are several ways one can backup photos on your iPhone. You should however pay more attention to the age of the backups you create so as to be able to identify and use the most recent ones.
Since macOS Catalina, Finder takes charge of all iPhone backups including recoveries from them. Do you want to recover files from Macintosh or photos from your iPhone for the first time with Finder, do not fret as the process is absolutely seamless.
Here are the steps to follow.
Step 1: Begin by launching Finder.
Step 2: Link your iPhone to the computer.
Step 3: Choose your iPhone. This will be available on the list of locations appearing on the left.
Step 4: Now tap the “Restore iPhone” button available in the General tab and let Finder run a backup before restoring.
Step 5: Tap the “Restore” button to confirm that you are now ready to restore photos from a backup.
Restore Lost Photos with iCloud
If you are not able to find the photos in the “Recently Deleted” area of the Photos app, you can still get them with iCloud. This method helps you get back your photos even without creating a local backup on your computer. Follow the steps below.
Step 1: Visit https://www.icloud.com to access Apple’s cloud service. Remember this is a free service.
Step 2: Log in to your account using the username and password you registered with and select “Photos” from the web page.
Step 3: Tap the “Recently Deleted” album to reveal a list of photos ready for deletion within the next 40 days or less.
Step 4: Choose the photos you intend to restore then click “Recover.” They should now be moved back to the photo albums as well as be restored to your iPhone after it syncs with iCloud.
Restore Lost Photos with Software

Source: techtous.com
When all other attempts fail, it is the right time to take out the big guns and use data recovery software. With photo recovery software, you can effectively restore lost photos from iOS and Mac even without a backup. We will show you how to do this with Disk Drill by Cleverfiles from an iPhone on Mac.
Step 1: Begin by downloading Disk Drill. Open the .dmg file and drag the app to the applications folder on your Mac.
Step 2: Plug your iPhone to the computer, choose “Trust” if asked to, and enter the code to unlock.
Step 3: Close all the programs running on Mac especially iTunes, iPhoto and the like.
Step 4: Double-click on Disk Drill to launch and wait for set up to finish.
Step 5: Select your iPhone and tap “Search for lost data” to launch the recovery procedure. Enter the iPhone’s encryption password if prompted. Do not use your iPhone during this process.
Step 6: When the scan ends, review the files and select the folder marked “Photos.”
Step 7: Choose the photos you want to restore followed by the directory in the “Recover to” section.
Step 8: Tap “Recover” to restore the photos to your specified folder.
How to avoid iPhone Photo loss in Future
Below are some tricks to avoid photo loss from iOS in the future.
- Backup your iPhone
- Use Google Photos, Mega or the like
- Safeguard your iPhone
- Do not jailbreak your iPhone
Conclusion
As much as there are many ways to restore lost photos on iPhone and Mac, you still need to exercise precautions when dealing with photos. Implement the fixes we have discussed and follow the tricks suggested to avoid further photo loss.


