If you are a newcomer to the macOS, then you might be looking for some programs that you are familiar with. These programs can be personal or work-related and in this article, we are going to discuss Microsoft Access for Mac.
We are going to take a look at Microsoft Access’ availability on macOS and also other alternatives that you can use on Apple’s hardware. We are also going to take a look at how to install them. Ready? Let’s get started.
Is Microsoft Access Available for Mac?
Microsoft Access is a database management program that is used by individuals and companies. If you have done any prior research on the subject, you might already know that Microsoft does not make a macOS version of their software. But do not worry, as this does not mean you cannot use Access or an Access alternative on your Mac.

In the next section, we are going to take a look at ways you can use Microsoft Access on your Mac and also some of the best alternatives for it.
Best Methods to Get Microsoft Access for Mac
This list contains five things you can do to get Microsoft Access for Mac. The methods are not ranked and offer slightly different advantages, so you can choose whatever suits you best. The first 2 methods on this list will be focused on getting the original Microsoft Access for Mac.
1. Using Virtual Machines
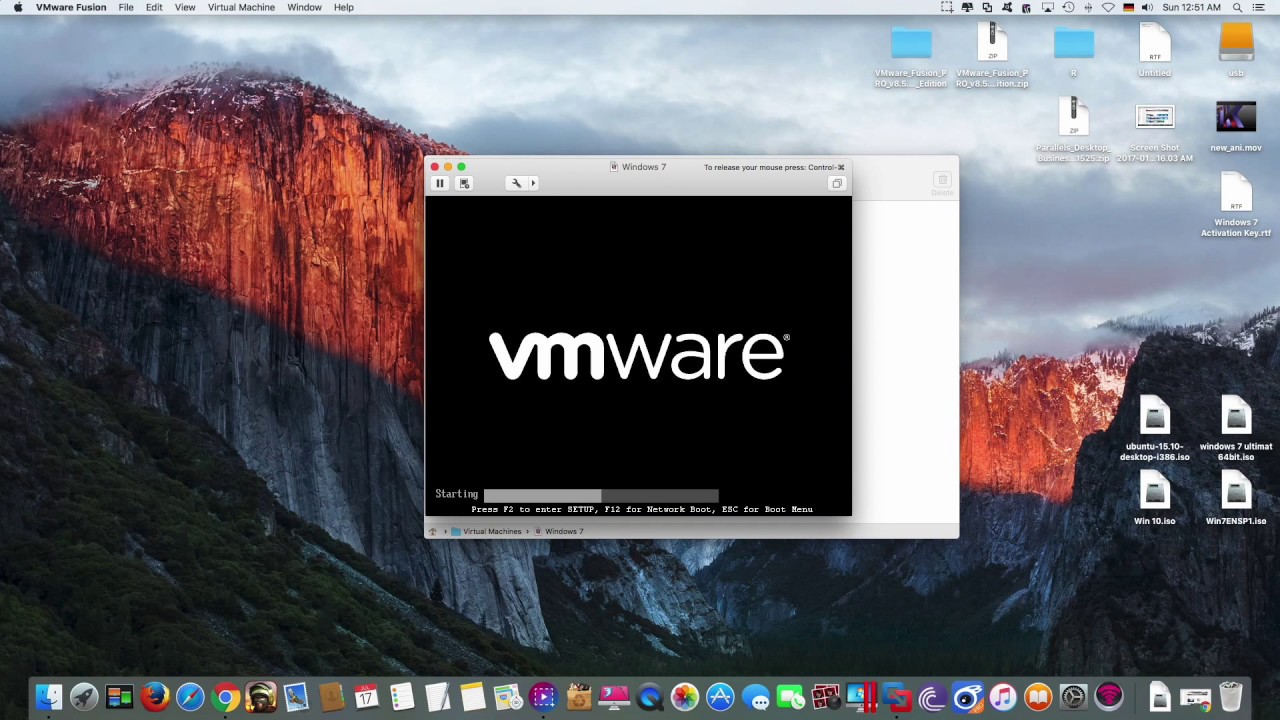
Virtual machines are really cool. They let you emulate another computer system without restarting your system or partitioning your drive. Softwares like VMWare and Parallel Desktop 15 lets you run the Windows operating system without a lot of hiccups. Virtual Machines do cause a slight performance hit but if you choose the right software, this can be minimized. After installing Windows on your VM, you can easily run any Windows application.
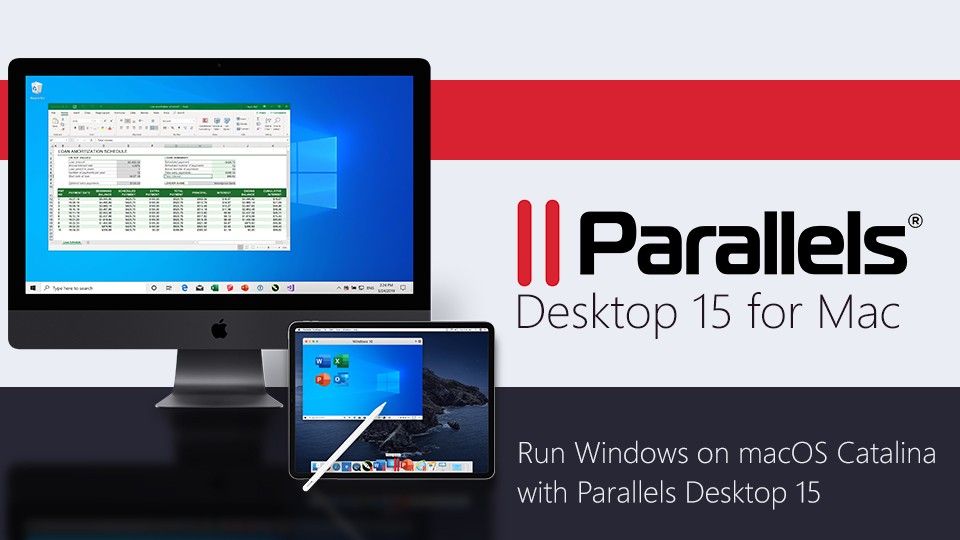
I won’t recommend that you buy VM just to use Microsoft Access but if you have other essential Windows programs that have no alternatives or if you need to use Microsoft Access for some reason, you should definitely buy it. You can check out VMWare and Parallel Desktop 15. Both offer trial versions so you can make an informed decision.
2. Using Boot Camp Assistant
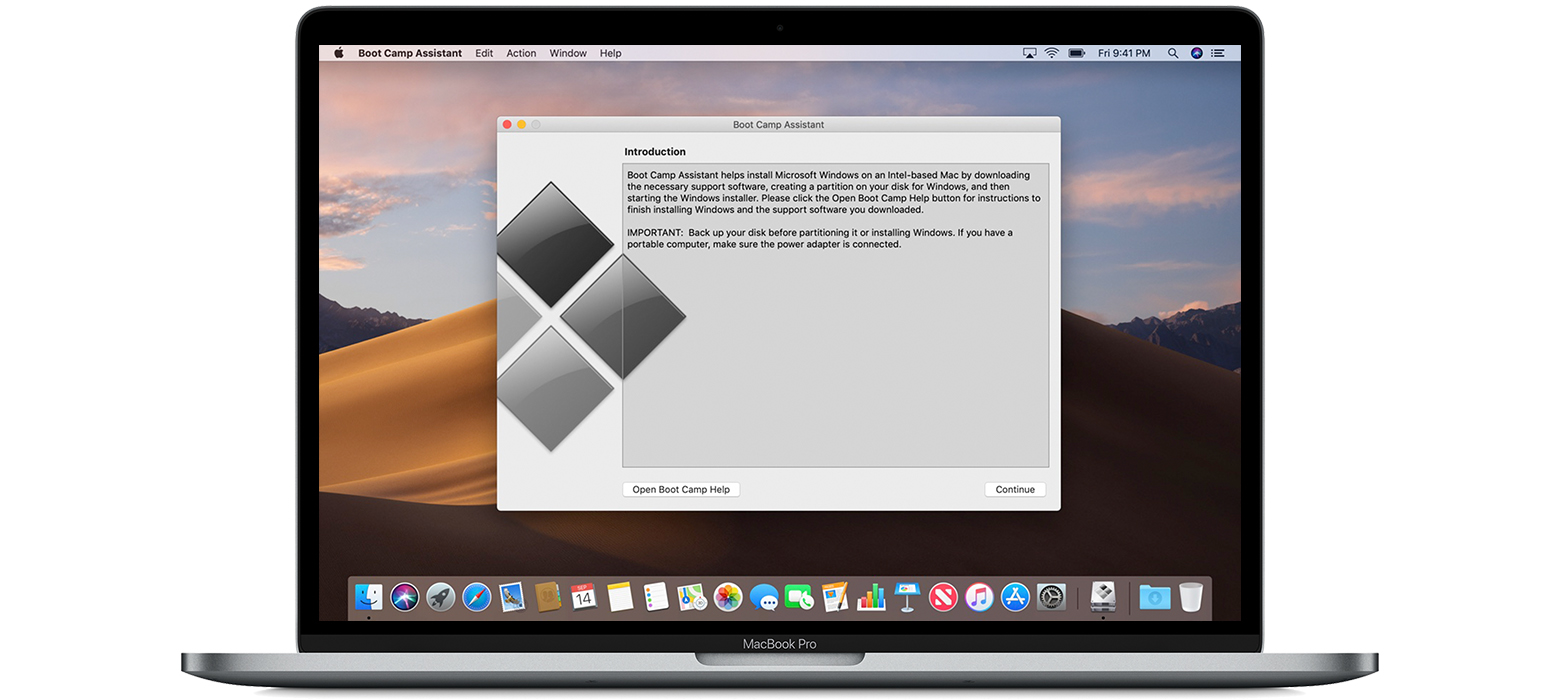
Boot Camp Assistant lets you easily install Windows 10 on your Mac and also lets you switch between macOS and Windows during restart. The only reason to consider Boot Camp over virtual machines is that there is no performance hit whatsoever. There are several requirements for this method.
Requirements
- Latest macOS update.
- 16 GB external USB flash drive.
- 64GB or more free storage for a nice experience.
- A 64-bit Windows 10 Home or Windows 10 Pro ISO. You can download it on Microsoft’s website.
Compatible Devices
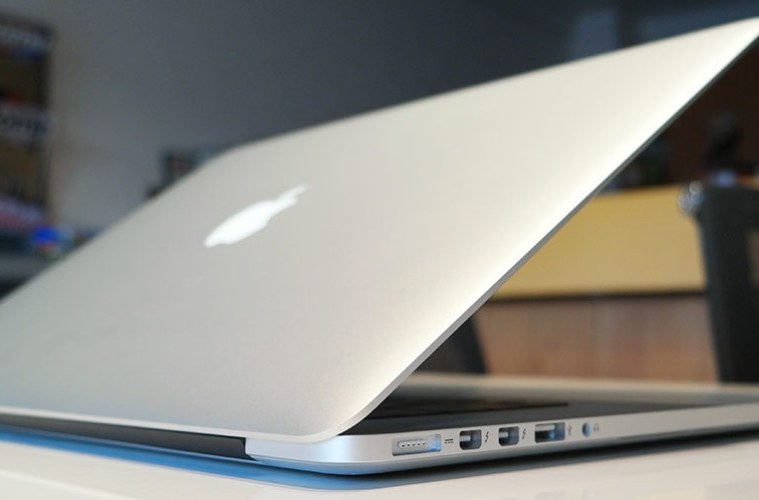
The following are the compatible devices listed on the Apple website.
- 2015 MacBook or later
- MacBook Air introduced in 2012 or later
- MacBook Pro introduced in 2012 or later
- Mac mini introduced in 2012 or later
- iMac introduced in 2012 or later1
- iMac Pro (all models)
- Mac Pro introduced in 2013
How to Use Boot Camp Assistant
- Open Boot Camp and follow the instructions. You will be asked to insert your USB drive so that Boot Camp can turn it into a bootable drive for Windows installation. You will also be asked to choose the partition size. Remember that it has to be at least 64GB because you can’t change it later on.
- Your computer will restart soon and it will show you WIndows installer. You will be asked to choose the partition you want to install Windows in. After choosing, press Format.
- Unplug any other drives or external displays (do not unplug the bootable USB drive) and just follow the instructions shown. Windows will be installed.
- After the restart, you will be taken to the Bootcamp WIndow. Install Bootcamp and other Windows drivers and your Mac will restart again. That’s all you have to do.
3. Wizard
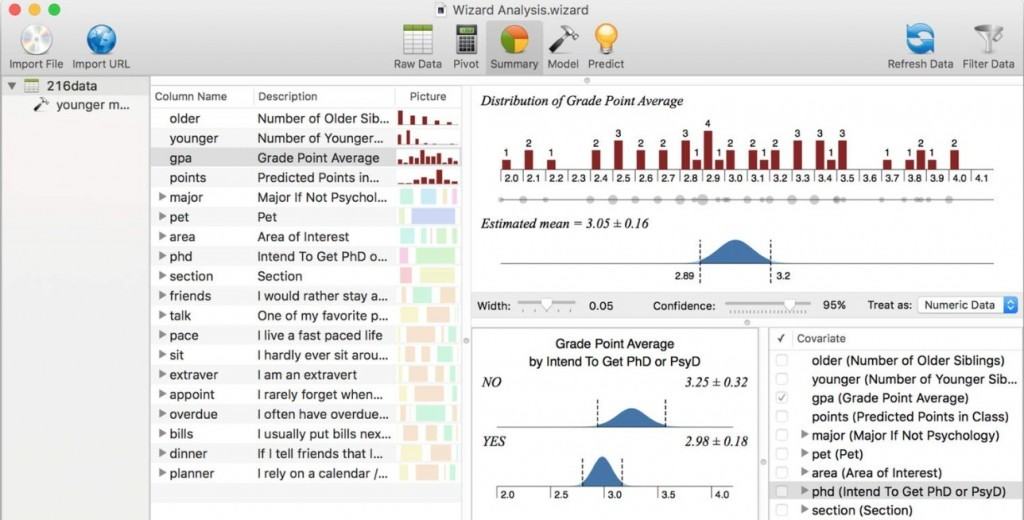
If you don’t want the hassle of installing an entirely different OS on your Mac and you are willing to use an alternative to Microsoft Access, then Wizard is for you. Wizard lets you easily create databases and crunch numbers. Just like Access, it offers a ton of features and that is why it is considered Microsoft Access for Mac. You can even import your Access MDB files.
The normal version of Wizard is available on the Mac App Store for $79.99 while the Pro version is available for $199. Both of them offer trial versions so you can use that to make your decisions.
4. File Maker Pro
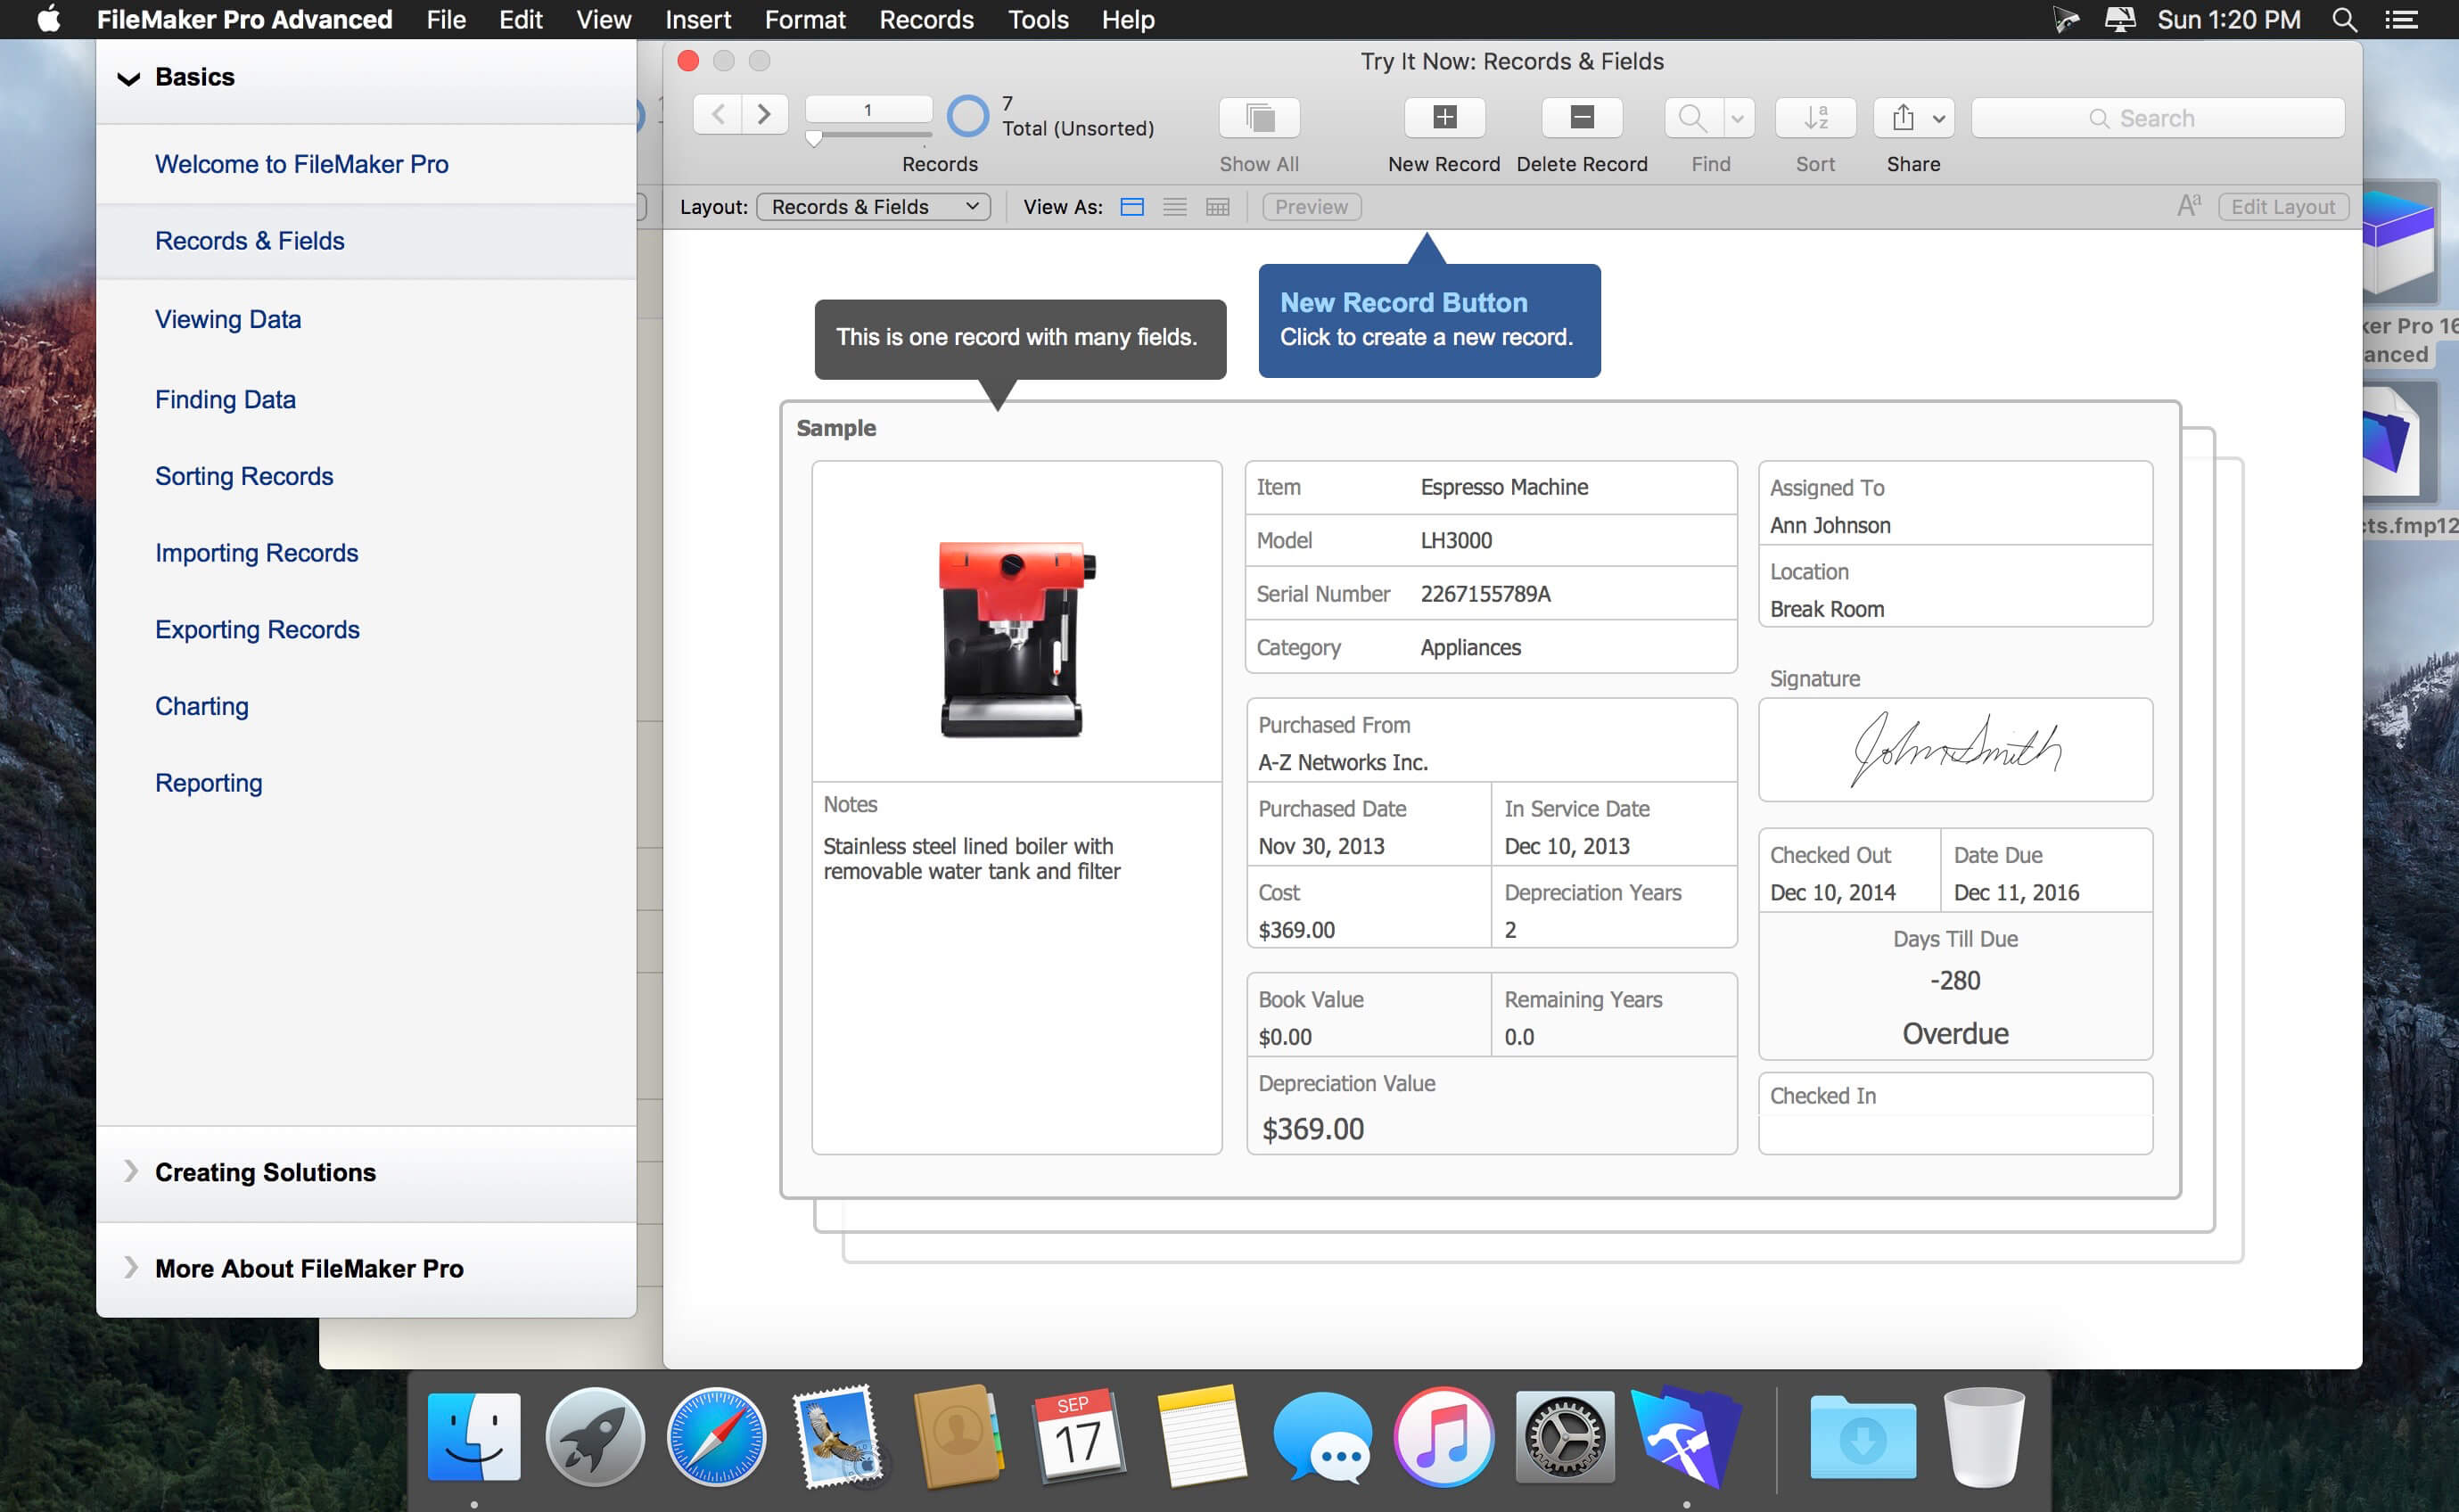
File Maker Pro is one of the most popular database management programs for Mac. It offers a lot of helpful tools, just like Microsoft’s offering and that is why it is one of the best Microsoft Access alternatives for Mac. It is owned by a subsidiary of Apple so it has nice optimization and design. Although it shares a lot of features with Microsoft Access, it’s also very different from it, the main sticking point being transparency. While Access lets you view underlying tables, File Maker does not let you do that.
The pricing is different for the different numbers of users. You can get an annual subscription or a perpetual license. Check out their prices on their website.
5. MDB ACCDB Viewer

MDB ACCDB Viewer is one of the most powerful database tools for Mac. It supports .mdb as well as the .accdb format. MDB ACCDB Viewer lets you easily view, search and export your data. It also handles large databases with ease. However, while this program can view the data in databases, it cannot display forms or queries. It also cannot modify the database.
You can download MDB ACCDB Viewer for $18.99 from the Mac App Store.
Also Read: RUFUS for Mac
Final Take
That is all there is to know about Microsoft Access for Mac. Hopefully, one of our methods or apps came in handy. If you have any doubts or suggestions, please leave them in the comments section down below and we will get back to you as soon as possible.


![6 Best Text Editors for Mac [Free in 2024] 6 Best Text Editors for Mac [Free in 2024]](https://www.digitalcare.top/wp-content/uploads/2018/10/mac-211x150.jpeg)
