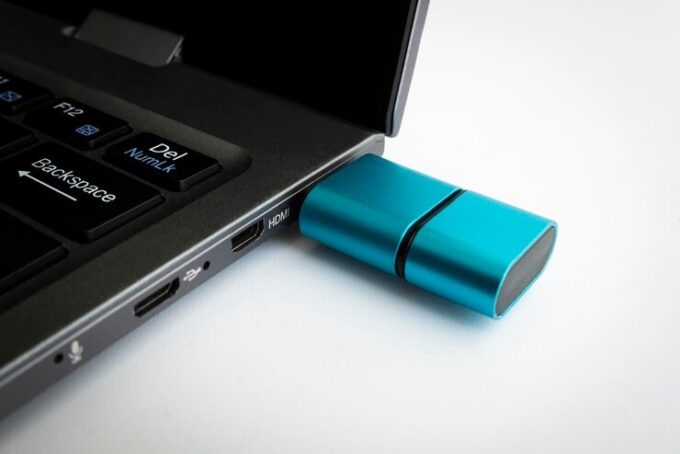
You might need to format USB drive (Pendrive or Thumb drive) for numerous reasons, say if you want to delete all files completely including hidden files to free up space, to repair a corrupted USB drive or some other reasons. But on Mac, users face a peculiar situation where USB drive is not recognized by the Apple’s OS. This article is all about How to Format USB Drive on Mac.
There is no denying the fact that Windows dominates the world of Operating System in numbers of users. Both Mac and Windows use different file systems in their computer, that is why USB drive for Windows, in most cases doesn’t support on Mac. Detailed information on the file system used in Mac is covered under the section ‘file system which one to choose’.
Before Formatting USB Drive, Do This!

Source: freepik.com
Before you proceed to format USB drive on Mac, you must BACKUP data first. Formatting the USB drive will delete all the files. This article is also applicable for other external storage devices like External Hard disk, thus resolving storage device not recognizing on Mac by changing its format. To check information related to File system, remaining space, etc of USB drive follow these steps:
- Right-click on the USB drive icon on the desktop, if not available, Open a ” Finder” window, then right-click on USB drive located on the sidebar.
- A menu will appear, click on “Get Info”. Then, a pop up will appear showing details about the USB drive.
You might also need Internet Connection if you wish to download 3rd party application recommended by us. In the next section, we will discuss file system in detail, you may skip this section and directly jump to the next one for easy steps to format USB drive.
File System – Which One to Choose?

Source: freepik.com
The file system is the way of storing, organizing and accessing data (files) in storage devices such as a Hard disk, USB devices, etc. Mac has its own set of file system and so does Windows. By default, Mac uses HFS+ also known as OS X Extended, this file system is native to Mac and is unsupported in Windows. Currently, windows use NTFS ( New Technology File System) which is partially supported by Mac ( mostly Read-only operations).
This issue can be resolved by choosing to format your storage device in either in FAT32 or exFAT file system as both of these filesystems are supported by both Mac and Windows. The FAT32 filesystem is relatively old and has some limitation on the maximum size of a file can be only 4GB or less and partition size cannot exceed more than 8GB.
Whereas, exFAT is comparatively new, also is the most preferred file system. file system. In exFAT. there is no limitation on maximum file size( very high) and also for maximum partition size of the storage device. Therefore, we would request you to use modern filesystem exFAT as it supported in many platforms.
Other file systems supported by Mac are:
- OS X Extended (Case-sensitive, Journaled): Similar to Unix operating system, a Filesystem with case-sensitive name, eg: Document and document are two different files.
- OS X Extended (Journaled, Encrypted): A file system in which content will be encrypted, you will have to enter the password to access files.
- OS X Extended (Case-sensitive, Journaled, Encrypted): This filesystem is an amalgamation of above two cases i.e. both encryption and case sensitive.
These filesystems are exclusive to Mac and are not supported by Windows. Recommend partition scheme is GPT (GUID Partition Map) as it is supported by both Mac and Windows.
How to Format USB Drive on Mac
Now, lets us see how to format USB port in Mac:
Disk Utility

Source: freepik.com
Mac provides you with a utility tool to format storage devices like USB drive, called Disk Utility. You could format a drive with a changed file system and partition scheme using Disk Utility.
- Open “Finder”. Select “Application” located in the sidebar then click on “Utilities” and finally, click on “Disk Utilities”. Alternatively, Press Command + Space and search for “Disk Utilities” and press Enter to open Disk Utilities.
- On the left sidebar, all the storage devices will be listed. In the “External” section look for your USB drive. Click on the USB drive to select it. Information related to USB drive will appear. Now, select “Erase” located on the top.
- A pop up will appear. You can change Name, Format (File System), Scheme (Partition) in here. Change Format to “exFAT”, Scheme to “GUID Partition Map” and Name the USB drive as you pleased ( there is naming convention and characters limit). You could also leave the fields unchanged if you satisfied. Finally, click on “Erase” to format the USB drive.
Remember to backup your USB drive prior to formatting it, otherwise you will lose all the data stored in it.
Cleanmydrive3

Cleanmydrive 3 is the highest rated most popular 3rd party application for managing both Internal as well as External storage devices. It is available in both paid and free variants. It has a very simple easy to use interface for formatting USB drive. Also, you can find hidden files, junk files (free up space in Mac) and is loaded with many other features.
Conclusion
Hopefully, your USB drive must be formatted by now. Follow the steps in the same order as mentioned above to avoid any confusion. Once again don’t forget to backup your files before formatting the USB drive.
You could also use the same steps to format other storage devices. If your storage device ( USB drive is Windows compatible only and is not showing (recognizing) in Mac, backup your data in Windows first. Also, you can format the USB drive using Windows in exFAT format easily.
Always safely remove USB drive after use or else your data can get corrupted. Bookmark us for more awesome content on Mac!


![How to Zip a File on Mac [Beginners Guide] – 2024 Guide How to Zip a File on Mac [Beginners Guide] – 2024 Guide](https://www.digitalcare.top/wp-content/uploads/2018/08/1-4-211x150.jpg)