If your PC is facing some issues or acting up, I am sure someone would have recommended you to defragment your hard drive. This is a popular troubleshooting method in Windows. Is it the same for Apple devices? If yes, how do we do Defrag Mac? Also, what are the disadvantages and alternatives for doing this?
Read on to have these questions answered.
What is Defragmentation?
Defragmentation is the method of locating non-contiguous fragments of data. Non-contiguous means data that is not continually placed next to one another. Upon location, these fragments are re-arranged and restored into fewer fragments or simply onto the entire file. You might have heard people call this ‘Defrag’. This is because it is the short form for the word ‘defragmentation’.
Do we need to defrag a Mac?
The process of defragmentation is carried out in order to enhance the performance of the device. By re-arranging all the data, all the related sets of data can be paired up together. Hence, loading the required programs would not take as much time as they would before.
Hence, a slow system can be quickly improved by adopting this method. However, there are some disadvantages associated with the process of defragmentation which will be discussed as we proceed.
In addition, if your device has MacOS X or a version that came after 10.2, you mostly don’t need to carry out this procedure. This is because defragmenting becomes an automatic procedure.
There are some cases when this is required, however. This includes when the hard drive in your device is more than 90% full. This provides a hindrance to the automatic defragmentation procedure. This happens especially when the person using the device is a multimedia creator and uses applications like Adobe Premiere and Photoshop in large amounts. So, in case you have multimedia files in a large number stored on your device, you must either clear out your storage space or stick to the process of defragmentation.
How do I defrag my Macbook?
Now that you have decided it’s time to defragment your Mac, let’s get started on how to do it. Before you defragment, the most important step is to back up all your data. This is done in order to be able to restore your data should something go wrong. This can easily be done using an external storage device such as a hard disk. If you don’t want to use an external device, then you could use applications like Time Machine, iCloud or Dropbox.
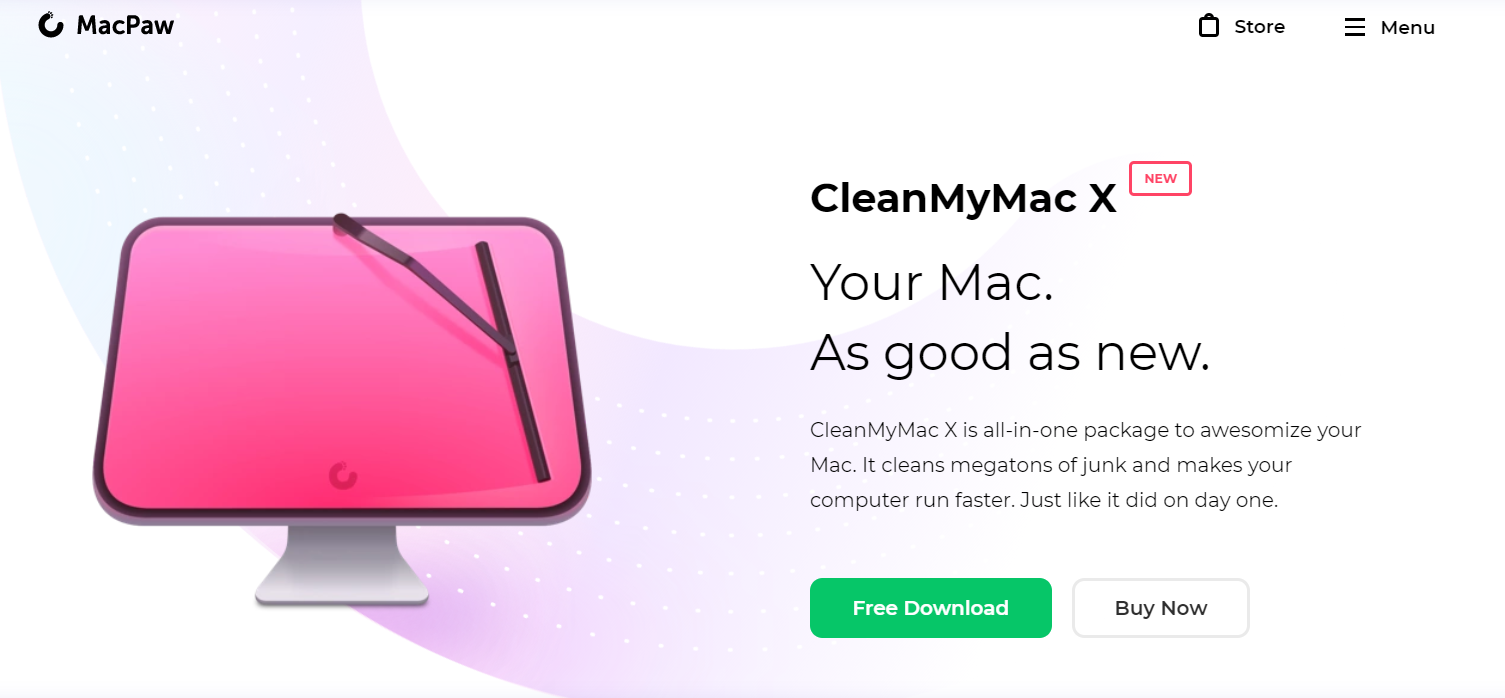
Coming on to defragmentation, you can use disk cleaning software like CleanMyMac. All you need to do is, install the software and click on Clean Button.

Why you shouldn’t defrag your Mac?
Defragging was considered to be a popular troubleshooting method. Now, many updates have been made to the Mac. So, it doesn’t make sense. Here’s why:
- If your Mac has an SSD(Solid State Drive), it is strongly recommended not to defrag the data present in it. This is because SSD’s follow a different operating method and are maintained automatically. Not just this, defragment of the SSD could just harm the data present in it.
- If the OS you are using is High Sierra or Mojave and the system has been changed to APFS, then defragment again, becomes pointless. This is because of APFS(Apple File System) that promotes the prevention of defragmentation. If it is required, the process is done automatically.
- If your macOS is of a version after 2002, you do not need to adopt the methodology of defragmentation. In case, your OS dates to before 2002, it is recommended you update it!
Alternatives to Defragment
Defragment is a process that is carried out to solve problems related to the HDD. It is, however, not always compulsory that the HDD has problems. Hence, there are numerous alternatives to disk defragment. Disk Defragment is not always recommended as you could have concluded after reading the disadvantages. Here are the alternatives:
1. Check Disk Permissions
This is a pretty famous troubleshooting technique. These are the settings that mostly affect the ability to execute, read or write the file. Now, this is not a mandatory step in all versions of the macOS. It makes sense to check these settings only in OS X Yosemite or the versions released earlier than this. This is because, from OS X EI Capitan, the permissions are protected automatically. Hence, checking the Disk Permissions becomes rather useless for the user.
To do this:
- Click on Go.
- Select Utilities.
- Double-click on ‘Disk Utility’.
- In the left pane, you must select the volume for which you would like to change the disk permissions.
- Select the First Aid tab.
- Then, click on ‘Verify Disk Permissions’.
- Similarly, click on ‘Repair Disk Permissions’. This would repair inconsistent permissions if any.
Final Take
So, is defragmentation not needed? Yes, on Mac you don’t need to do that. It is an automatic process. However, if your Macbook starts working slowly, you may well need a software like CleanMyMac to optimize your Macbook.


![How to Forget a Network on Mac [3 Ways] – 2024 Guide How to Forget a Network on Mac [3 Ways] – 2024 Guide](https://www.digitalcare.top/wp-content/uploads/2018/12/aid4469422-v4-728px-Restore-Macbook-to-Factory-Settings-Step-1-Version-3-1-211x150.jpg)